|
Today Isabella and Rachel met from 6:00 to 8:00 pm, and built the left and right chassis. We are excited that we are almost done with the individual pieces of the basic pushbot, but we still had many challenges. For example, while building the left chassis, we realized that many of the pictures in the instructions were taken from angles and zooms in which you could see some things well, but not a lot of it. We would put something, such as a wheel or a rail, on the way it looked like in the photo graph, and then go to the next step and realize we put it on wrong, and so we would have to re-do it. This took up most of the time, but we eventually learned to look ahead several pictures/pages. This way, the construction would be viewed either from a better perspective for what we were trying to accomplish, or multiple angles, which allowed us to get the full picture more often than not. 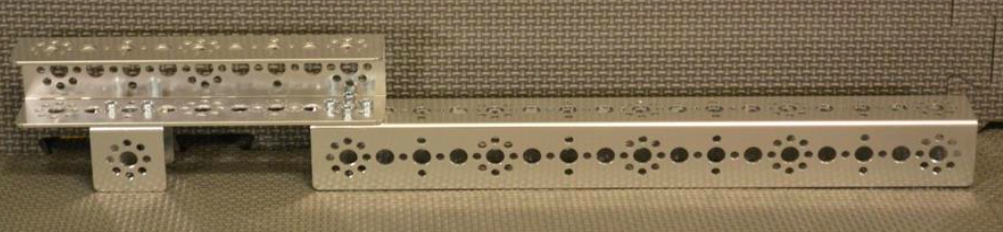 For example, in the picture above, from step 1 of the right chassis rail assembly, it is difficult to tell the rail farthest to the right has the "gap side" facing towards the wall, or towards the ground. We solved this by looking at step 3 of the right chassis rail assembly. 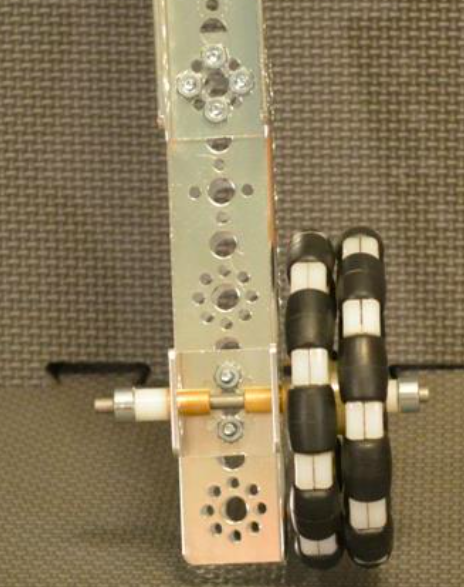 Bushings were also difficult to tell where they were needed, but we solved this by spinning a the axle/wheel. If it was spinning fine, it did not need a bushing in the controversial area.. If metal was rubbing against metal and the wheel was inconsistently moving, we would add a bushing or spacer.
By the end of the session, we had completed all of the individual parts. We are super excited for the kickoff this Saturday!!!
0 Comments
Leave a Reply. |
This blog covers details about our outreach events and other events that are important to our team, and our season.
AuthorHi, we are the Rubies, FTC team 9890. To learn more about us, visit the "About Us" page Archives
April 2016
Categories |
 RSS Feed
